


Curtain hardware setup: a complete DIY guide
TL;DR:
- Proper measurement and leveled installation are essential for functional and visually appealing curtain hardware.
- Selecting hardware suited to your décor, window size, and climate ensures durability and style consistency.
- Using the right tools and wall anchors prevents common installation issues, resulting in a polished look.
Getting curtain hardware wrong is one of the most visible mistakes in any room. Crooked rods, brackets that pull away from the wall, and panels that bunch awkwardly on the floor are frustrating problems that undermine an otherwise well-decorated space. The good news is that a careful, well-planned installation is entirely achievable without calling in a professional. This guide walks you through every stage of the process, from choosing hardware that suits your style to securing the final bracket and dressing your panels to a polished finish.
Table of Contents
- Choosing the right curtain hardware
- Essential tools and materials for setup
- Measuring and marking for perfect placement
- Step-by-step curtain hardware installation
- Finishing touches and checking your results
- A fresh perspective: Why DIY curtain hardware setup is worth the effort
- Take your window treatments further with Beautiful Windows Elgin
- Frequently asked questions
Key Takeaways
| Point | Details |
|---|---|
| Choose the right hardware | Selecting hardware that matches your curtains and room style ensures a polished look and long-lasting function. |
| Gather tools in advance | Preparation with all necessary materials prevents frustrating delays during installation. |
| Measure before you drill | Accurate measuring and marking are critical for a balanced and beautiful curtain installation. |
| Use secure mounting methods | Proper anchors and support rods keep your curtains safely in place, especially for heavy materials. |
| Finish with style | Adding final touches like leveling and designer tiebacks elevates the overall décor effect. |
Choosing the right curtain hardware
Different curtain hardware suits varying décor styles and curtain weights, so selecting the right components before you shop saves time and avoids costly returns. Hardware is not just functional. It contributes to the visual tone of your room in a meaningful way.
Rod styles explained
| Hardware type | Best use | Décor fit |
|---|---|---|
| Decorative rod with finials | Lightweight to medium panels | Traditional, transitional, glam |
| Traverse rod | Functional draw drapes | Classic, practical settings |
| Tension rod | Sheer or lightweight panels, rentals | Minimalist, temporary |
| Double rod | Layered sheer and blackout panels | Modern, versatile |
| Magnetic rod | Metal door frames or narrow windows | Contemporary, renter-friendly |
Each rod type serves a distinct purpose. Decorative rods allow finials (the decorative end caps) to become a design element, while traverse rods prioritize smooth daily operation over visual flair.
What influences your hardware choice
Room décor, curtain material selection, and practical needs all shape the decision. A heavyweight jacquard satin panel, for example, requires a sturdy rod with closely spaced brackets. A lightweight linen sheer can hang comfortably from a tension rod or a slender decorative pole.
For Columbia, SC homeowners specifically, a few additional factors deserve attention:
- Humidity levels: Coastal and inland South Carolina both see elevated humidity. Solid metal or treated aluminum rods resist moisture better than untreated wood or hollow plastics.
- Window size: Larger windows in older Columbia homes often need center support brackets to prevent rod sag.
- Light control: High solar exposure in the Midlands region makes blackout panels a popular choice, which in turn requires heavier-duty brackets.
- Architectural style: Colonial and craftsman-style homes common to Columbia neighborhoods suit brushed nickel or oil-rubbed bronze finishes with classic profiles.
Matching your hardware finish to existing room fixtures is one of the easiest upgrades you can make. Review your curtain style options alongside your hardware choices to confirm they complement each other before purchasing.
Pro Tip: Match your curtain rod finish to the finish on your doorknobs, light switch plates, or nearby light fixtures. This creates a cohesive, intentional look throughout the room without additional cost.
Essential tools and materials for setup
Having the right tools ready makes curtain hardware setup easier and more accurate. Scrambling for a drill bit mid-project is one of the most common reasons installations go sideways.
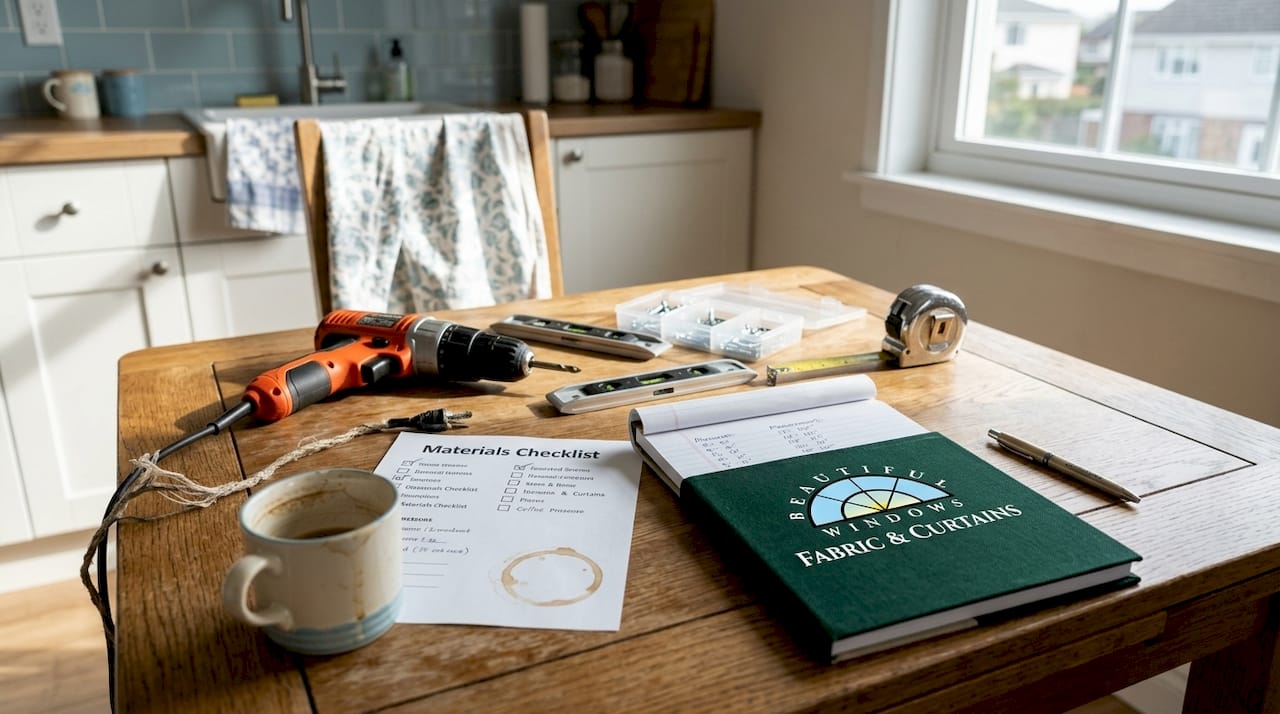
Core tools and materials checklist
| Item | Purpose | Notes |
|---|---|---|
| Power drill | Pre-drilling and driving screws | Use a variable speed model |
| Bubble level | Ensuring horizontal alignment | A 48-inch level is most useful |
| Tape measure | Measuring window and wall dimensions | Use a rigid steel tape |
| Pencil | Marking bracket positions | Avoid permanent markers on walls |
| Phillips screwdriver | Final bracket tightening | Backup for drill |
| Wall anchors | Securing brackets between studs | Rated for hardware weight |
| Screws (included or upgraded) | Fastening brackets to wall | Match to wall material |
| Stud finder | Locating wall studs for secure mounting | Electronic models are most reliable |
Optional supplies for more advanced setups
- Laser level for long spans or multiple windows treated as a continuous installation
- Cardboard or paper template for marking identical bracket heights across multiple windows
- Painter’s tape for marking without pencil damage to delicate wall surfaces
- Masonry anchors or toggle bolts for brick, concrete, or plaster walls common in older Columbia homes
- Wall patch kit in case a bracket placement needs to be relocated
Selecting the right anchors for your wall type is especially important. The best materials for window treatments extend to hardware materials as well: a bracket rated for 30 pounds used with the wrong anchor in soft drywall will fail under the load of heavy drapery.
Pro Tip: In older Columbia homes with plaster walls, use snap-toggle anchors rather than standard plastic expansion anchors. Plaster can crumble under expansion pressure, but snap toggles grip behind the plaster layer for a far more secure hold.
Safety note: Before drilling into any wall, check for electrical wiring and plumbing using a live wire detector. Window-adjacent walls sometimes carry wiring for switched outlets or HVAC controls. Taking two minutes to scan the area prevents serious hazards.
Measuring and marking for perfect placement
Accurate measurements are the foundation for a symmetrical curtain installation. Skipping this step or rushing through it is the single most common reason DIY curtain projects look unfinished.
Understanding placement principles
Rod height and rod width both affect how a room feels. Hanging rods higher than the window frame creates the visual impression of taller ceilings, a widely used technique in interior design. Extending the rod width beyond the window frame allows panels to stack off the glass, which maximizes light when curtains are open and makes windows appear wider.
Standard recommendations for rod height are 4 to 6 inches above the window frame, though ceilings above 9 feet can support placements as high as 12 inches above the frame. For rod width, extending 3 to 6 inches beyond each side of the window frame is typical.
Step-by-step measurement and marking process
- Measure the full width of your window frame from outside edge to outside edge. Record this number.
- Add 6 to 12 inches to that measurement (3 to 6 inches per side) to determine your rod span.
- Measure up from the top of the window frame to where you want the rod center. Mark this height lightly with a pencil on both sides.
- Use your tape measure and a level to confirm both side marks are at exactly the same height from the floor. Adjust if needed.
- Mark the position of each bracket. Most rods include two end brackets; longer spans over 60 inches need a center support bracket.
- Use a stud finder to check whether any bracket position falls on a stud. If so, mark it so you can use wood screws for maximum hold.
- Double-check all marks using your bubble level before proceeding to drilling. Stand back and visually assess the mark positions against the window.
Pro Tip: Before drilling, hold your rod against the wall at the marked height and step back to view it from across the room. This quick visual check often reveals when something looks slightly off before any holes are made.
Step-by-step curtain hardware installation
Proper curtain hardware installation ensures your window treatments function as intended and hold safely under daily use. Follow these steps carefully for clean, professional results.
Safety reminder: Before drilling, confirm that no electrical wiring runs behind your marked positions. A non-contact voltage tester available at any hardware store detects live wires through the wall surface.
Installation steps
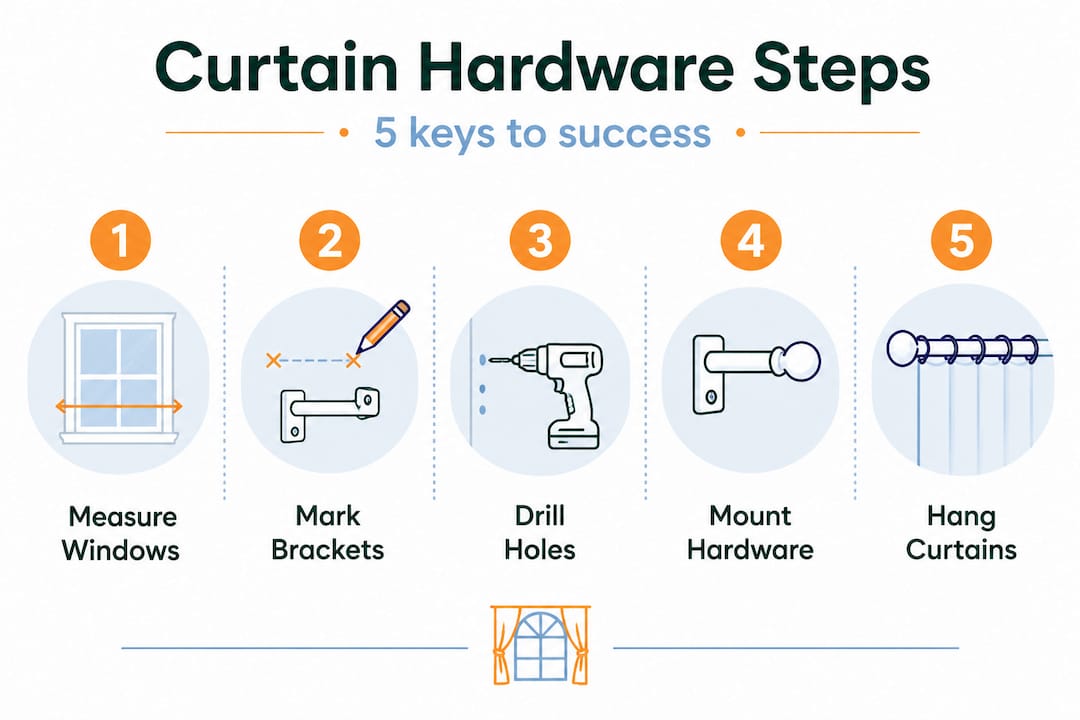
- Pre-drill pilot holes at each bracket mark using a drill bit slightly smaller than your screw diameter. This prevents drywall cracking and makes driving screws easier.
- If the bracket position falls between studs, insert the appropriate wall anchor into each pilot hole. Tap it flush with the wall surface.
- Hold the first bracket against the wall, align it with the anchor or stud hole, and drive the screws until the bracket is firm against the wall. Do not overtighten.
- Repeat for the second bracket, then check the level across both brackets using your bubble level. Adjust before the screws are fully tightened if needed.
- Install any center support bracket at the midpoint of the rod span.
- Thread curtain rings, grommets, or rod pocket panels onto the rod before placing it in the brackets.
- Set the rod into the bracket cradles and secure the bracket caps or set screws.
- Hang the curtain panels and check that they slide or drape smoothly.
Troubleshooting common installation issues
| Problem | Likely cause | Best fix |
|---|---|---|
| Brackets not level | Marks measured from window top, not floor | Re-measure from the floor; adjust one bracket |
| Stripped screw holes | Over-drilling or soft drywall | Use a larger anchor or move bracket 2 inches |
| Rod sagging in the center | Span too wide without center support | Add a center bracket between the two end brackets |
| Bracket pulling from wall | Wrong anchor for wall type or weight | Replace with toggle bolt or stud-mounted screw |
| Finials won’t stay on | Thread stripped or wrong fit | Use a small drop of clear nail polish to secure threads |
Review the full DIY curtain installation steps for additional troubleshooting scenarios and illustrated guidance.
Finishing touches and checking your results
A properly finished curtain hardware setup boosts both style and function. Once the hardware is mounted and panels are hanging, a few careful adjustments transform a functional installation into a polished window treatment.
Tips for leveling, adjusting, and dressing your curtains
- Re-check the rod with your bubble level after the panels are hung. The added weight of fabric sometimes shifts a rod slightly; adjust bracket height screws if your hardware allows it.
- Steam or lightly iron panels before hanging. Crisp, wrinkle-free fabric makes even simple panels look custom-made.
- Train pleated or pinch-pleat panels by gently folding each pleat in the same direction and tying loosely with a strip of fabric for 24 to 48 hours.
- Ensure panel bottoms are even. Hemlines that are uneven by even half an inch are highly visible from a distance.
- Use tieback hooks positioned at one-third to one-half of the panel height for the most flattering drape when panels are open.
- Hide exposed bracket screws or wall anchors with coordinating decorative covers available at most hardware retailers.
- Use a fabric steamer rather than an iron on velvet or delicate woven panels to avoid crush marks or sheen damage.
Safety and security checklist
Before considering the project complete, verify the following:
- All bracket screws are fully seated and firm against the wall
- The rod cannot be lifted out of brackets with light upward pressure
- Center support brackets (if used) are secure and not merely resting in position
- Heavy panels hang without causing visible bracket flex
- Tiebacks or holdbacks are mounted at a height that holds panels clear of foot traffic
Pro Tip: For a designer-level finish, add a matching valance or cornice board above the rod to conceal the hardware entirely. This technique is common in finishing curtain styling for transitional and traditional interiors, and it adds a layer of visual sophistication with minimal extra effort.
A fresh perspective: Why DIY curtain hardware setup is worth the effort
Most articles will tell you to follow the steps and you’ll get professional-looking results. That’s true, but it misses the deeper value of doing this work yourself.
When you install your own curtain hardware, you build a detailed understanding of your home’s walls, your window proportions, and the relationship between fabric weight and structural support. That knowledge transfers directly to every future window treatment project. It makes you more confident, more precise, and frankly, more capable of recognizing quality when you see it in materials and hardware.
There’s also a contrarian argument worth making here. Many Columbia homeowners assume that humid conditions or older home construction make DIY more difficult and therefore less worthwhile. The opposite is closer to the truth. Knowing your specific wall material, whether plaster, drywall, or brick, means you can choose anchors and hardware that actually perform in your home rather than relying on generic contractor advice. You become the expert on your own space.
The real risk in DIY curtain installation is impatience, not difficulty. Rushing measurements, skipping the level check, or using whatever screws came in the hardware bag are the decisions that lead to failed brackets and visible mistakes. Quality outcomes require the importance of custom curtains approach: thoughtful planning, precise execution, and materials chosen for your specific needs rather than generic convenience.
Invest time upfront and the results will be durable, accurate, and genuinely satisfying. That is something a rushed professional installation rarely delivers.
Take your window treatments further with Beautiful Windows Elgin
Once you see the transformation a well-installed curtain system brings, you might be inspired to choose even better materials for your next project.

At Beautiful Windows Elgin, the fabric selection is curated specifically for homeowners and designers who want results that stand apart from standard retail options. From the richly textured premium navy velvet fabric ideal for dramatic, light-controlling panels to embroidered jacquard weaves suited to formal living and dining spaces, every material is selected for quality, durability, and visual refinement. The store serves Columbia, SC and ships nationwide, offering fabric samples, design consultations, and expert guidance on matching textiles to your hardware and room style. Browse the full selection of designer fabrics and hardware to find the right starting point for your next window treatment project.
Frequently asked questions
What are the most common mistakes when setting up curtain hardware?
Frequent errors include incorrect measurements, using the wrong wall anchors, and skipping the level check before drilling. Incorrect measuring causes poor curtain fit and uneven panel placement that is difficult to correct after the fact.
How high should I install my curtain rod above the window?
A reliable guideline is 4 to 6 inches above the window frame, though taller ceilings support placements up to 12 inches above for a more dramatic effect. Hanging rods higher creates visual height and makes rooms feel more spacious.
What’s the best way to support heavy curtains?
Use heavy-duty brackets secured with toggle bolts or stud-mounted screws to ensure the hardware holds under load. Proper support is required for heavy curtain installations to prevent bracket failure over time.
Can I install curtain hardware on plaster or brick walls?
Yes, but standard plastic anchors are not reliable on these surfaces. Special hardware is needed for non-drywall surfaces, such as snap-toggle anchors for plaster or masonry screws with pre-drilled pilot holes for brick.
What hardware styles work best for humid climates like Columbia, SC?
Rust-resistant coated steel, solid aluminum, or sealed wrought iron are the most dependable choices in humid conditions. Material choice matters for different climates, and untreated wood or hollow plastic rods tend to warp or corrode under sustained humidity.
Recommended
- Step-by-step curtain installation: the complete DIY guide – Fabric Store in Columbia, SC | Drapery Making Services
- Curtain Installation Guide: Achieve Perfect Window Dressing – Shop Designer Fabrics by the Yard | Curtains & Drapery
- Curtain Style Selection Process for Custom Drapery Success – Shop Designer Fabrics by the Yard | Curtains & Drapery
- Install Window Treatments in 1 Hour: Pro DIY Guide – Shop Designer Fabrics by the Yard | Curtains & Drapery
- Updating Kitchen Lighting: Brighten Your Space Affordably